E011 Quadcopter
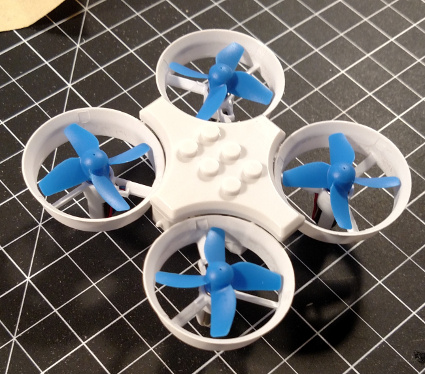
The main piece of equipment required for this operation. These are the E011 quads - the ones for the workshop were obtained here. They are also available on amazon, or from other sellers.
The main piece of equipment required for this operation. These are the E011 quads - the ones for the workshop were obtained here. They are also available on amazon, or from other sellers.
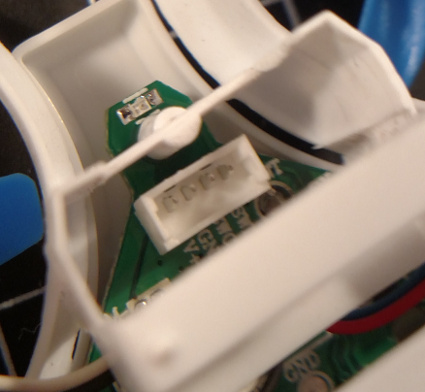
If you've obtained the quadcopter through the workshop, it should have been modified with a 4-pin header across the UART programming pins. The header is polarized, so take careful note of its orientation on the board. If yours is the opposite direction of what is shown here, you'll want to reverse the order of Jumper Wire connections to the ST-Link.
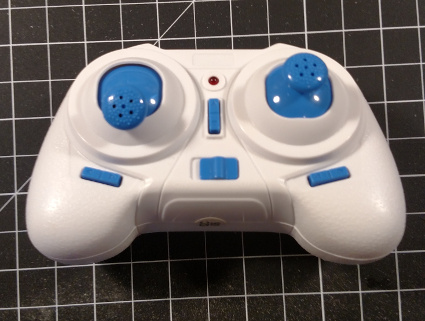
A small control transmitter included with the quadcopter. Replacing this usually means buying a new quadcopter -- transmitters are not sold seperately. If you have a radio with an XJT module bay, this can be replaced with multiprotocol modules that are compatible with the Bayang protocol.
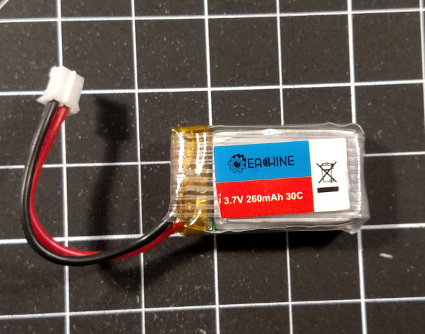
The stock battery for the E011 is a single cell 260mAh Lithium Polymer battery. If you've lost yours, they are available in small quantites from a variety of sellers. `260mah lipo` is a decent start for googling.
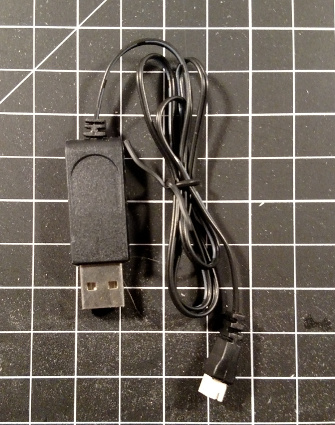
Keep this around. It can be used to recharge the LiPo battery for the drone. Replacement chargers should be available with most replacement batteries should you lose it.
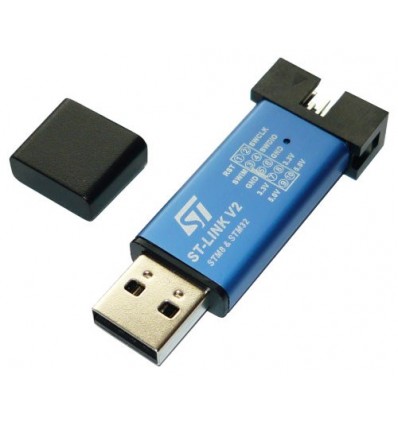
The ST-Link v2 is used to write data from the computer to the quadcopter. These are widely available and can be found, for example, here
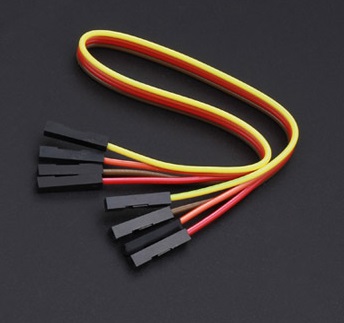
4 female to female jumper wires that come with the ST-Link. Your colors may vary.
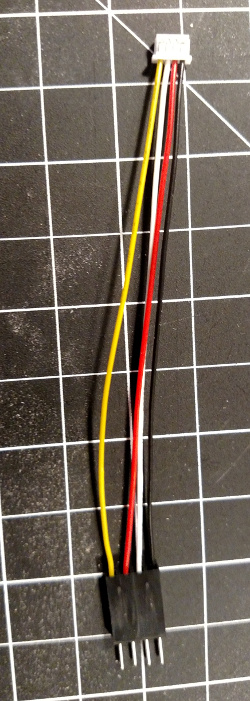
Also in your kit is a jumper wire. This is harder to replace, so take care not to lose it. One end of the jumper is terminated with a fairly no-name 1.25mm pitch 4 pin polarized connector, similar to this one. The other is crimped into a 4-posiiton male connector compatible with the Jumper Wires included above.
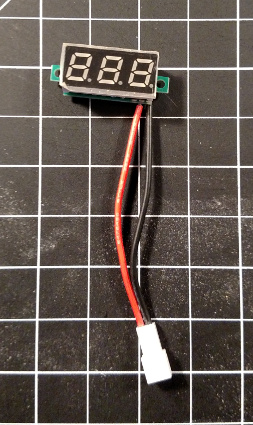
A small PCB with a 3-position 7-segment display. There should be a plug compatible with the battery -- this is a useful tool for determining battery voltage

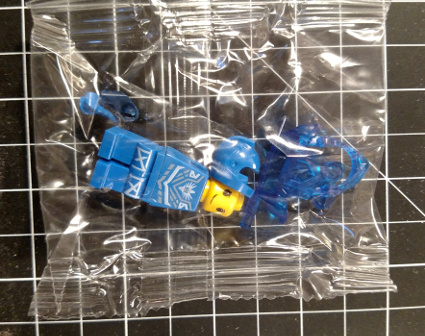
A small fire-resistant bag. Keep spare batteries in here when not in use to reduce the risk of battery fires. The one included in your kit is availble for purchase here but there are a wide variety of acceptable alternatives.
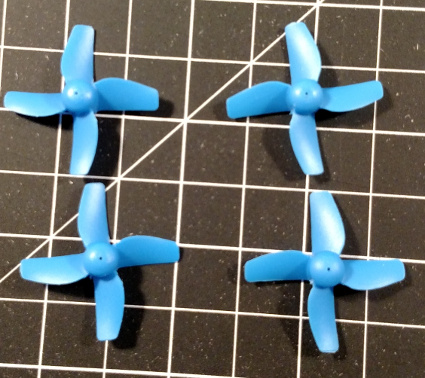
Useful if you fly the drone enough to warrant replacing the motors. There are 2 different chiralities on these - bear that in mind when replacing them.
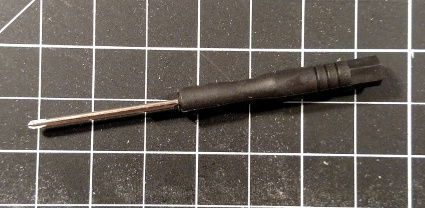
Small philips-head screwdriver. Can be used for removing the screw that holds the battery bay door closed on your transmitter, or removing the screws that hold the flight controller to the frame.
We'll probably go fly for a bit. The next step is a quick rundown of C.